
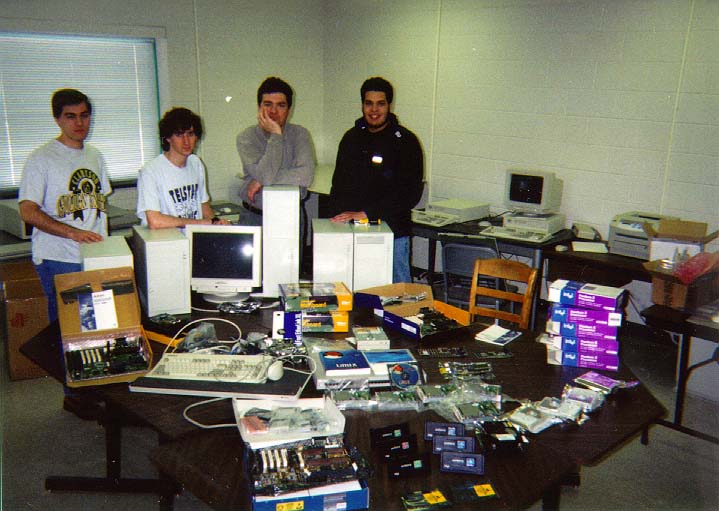
NorthCountry was assembled on the morning of Febuary 28, 1998. The assembly team consisted of Prof. Boris Jeremic, Mike Akers, Kevin Makles, and Nate Straz.
The first thing we did was move all of the boxes of parts that had accumulated in Prof. Jeremic's office during the last few days to the lab next door, which was where the assembly was going to take place. Once that was done, we took inventory to make sure that everything we had ordered had arrived, and that everything had survived shipping without damage.
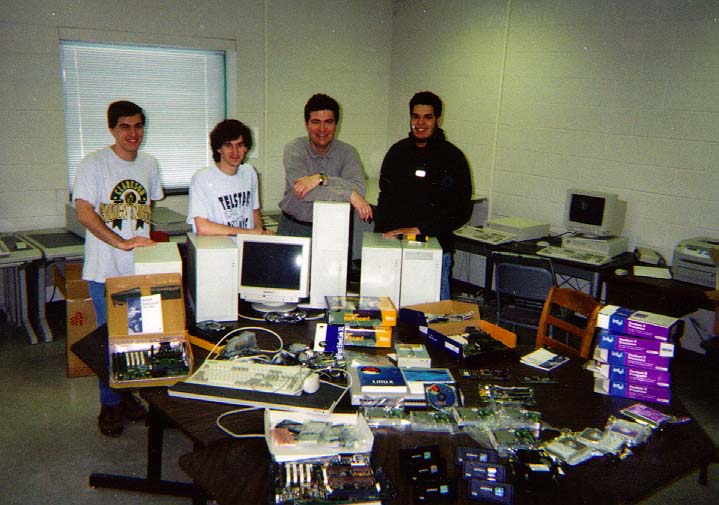
With all of the parts accounted for, we arranged them neatly on the large table in the middle of the lab and took our group pictures.
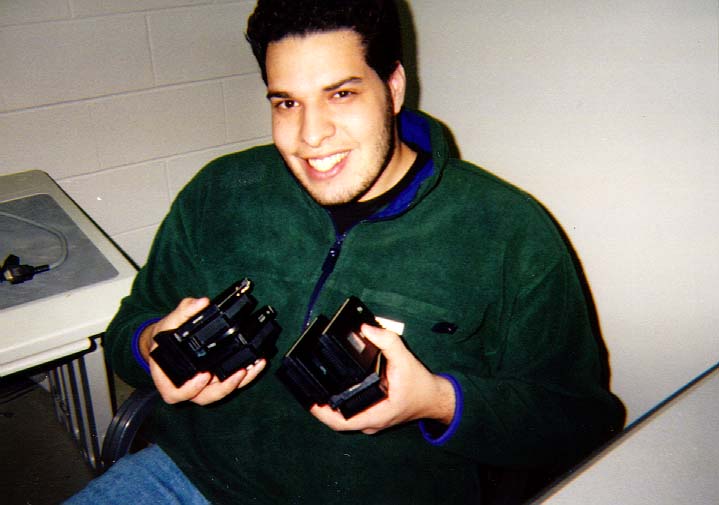
We also took a few closeups of some of the parts.


The Nodes:
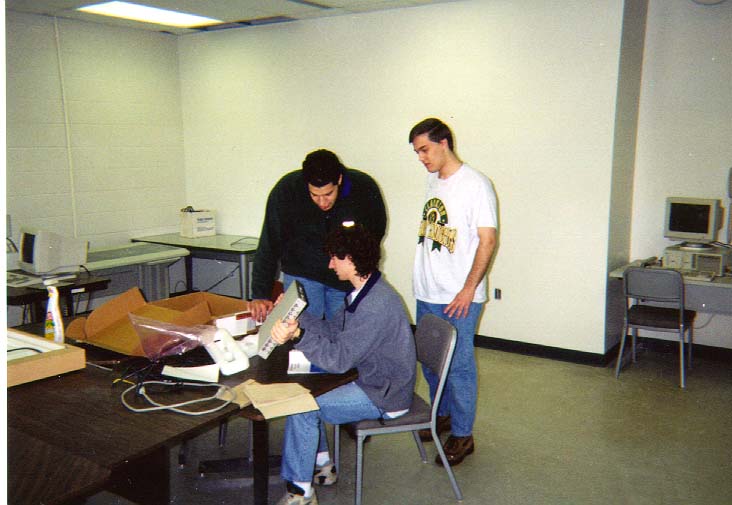
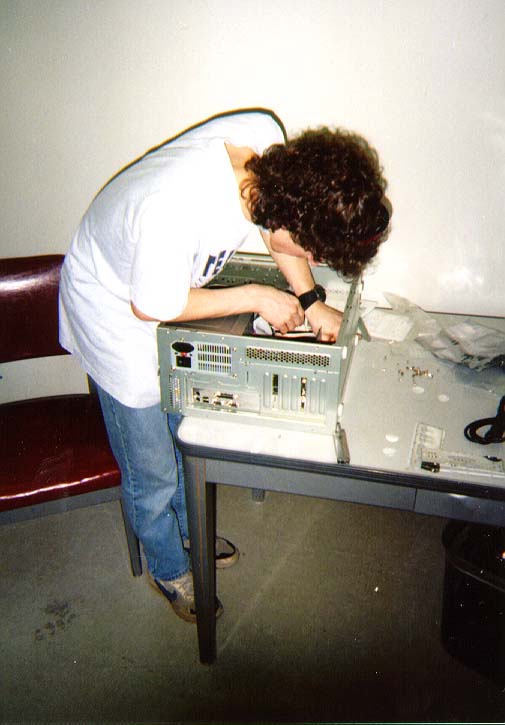
With all of the parts in attendance, and the group photos taken, it was time to start making a mess and putting stuff together. With a master computer and four nodes to be assembled, it was decided that it would be best if we each took a node to assemble and then one or two of us could work on the master. With screwdrivers in hands, we proceeded to work on our respective nodes.
One of the cool features of the cases we used was that the bed for the motherboard and the slots for the expansion cards were contained on a single metal shelf that was removeable from the rest of the case. This allowed us to install the motherboard, CPU, memory, drive cables and expansion cards outside of the cramped confines of the case. Once the parts were installed, you could slide the whole assembly into the case and hook up the power cables and case switches/lights, very cool design.
Another cool thing was that the ATX cases and motherboards are a step up from the old AT design. Instead of having to hook up the serial port , parallel port, mouse port and USB connectors individually to the motherboard and case, the ATX design allows all the connectors to be on the motherboard and grouped together in a large hole at the rear of the case. A face plate supplied with the motherboards fitted into the hole and sealed everything up nicely.
Oh, we also ordered some pizza.


The Master:
The Master came together pretty much the same as the nodes, except that the case was a full tower instead of a mini tower and there was an extra cpu to put in. One neat thing about the full tower case was that the top section could be taken off without taking off the sides, useful if you need to swap out the hard drive or you want to fry an egg on it.

More pictures of the master coming soon!
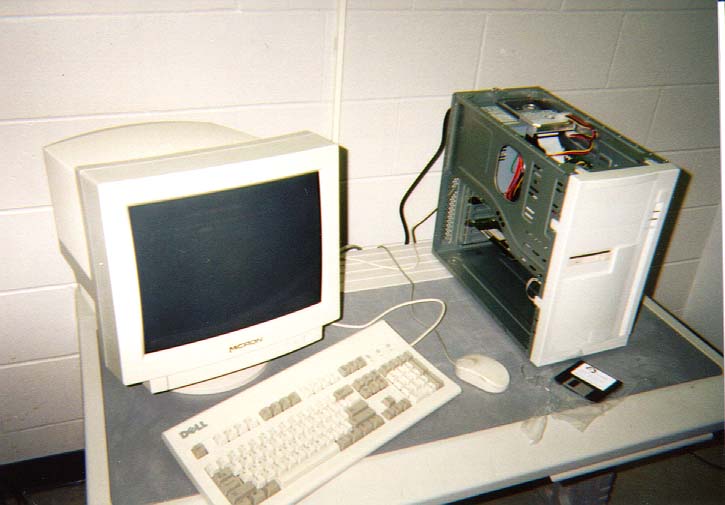
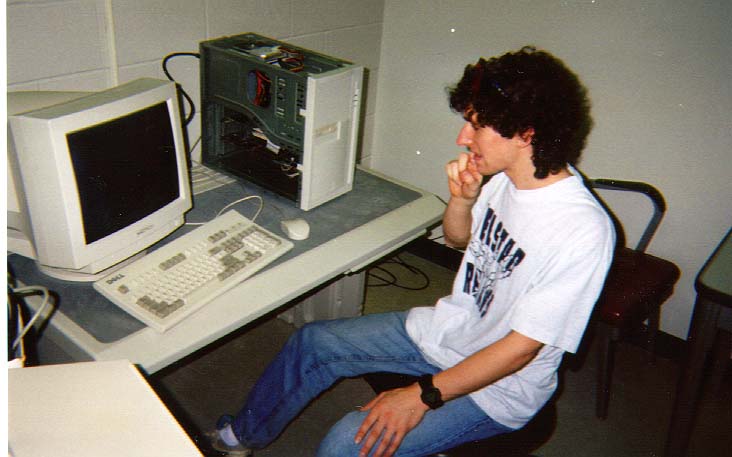
As each of the nodes were completed, we plugged them into a monitor and keyboard and gave them a quick test. The test was only enough to tell if we had made any big errors. If the system got through the POST, detected all of the memory, the hard drive, CPU and booted the redhat disk we had on hand we declared it finished and put it aside until the next day when we would be installing the OS's and software.
None of the nodes burst into flames on powerup and the only problems with assembly were a few case switches connected backwards and one of the CPU's wasn't seated properly (easily resolved by pushing down on it until it clicked into place.)
One little quirk of the new LX chipsets was that to powerdown the system you need to hold the power switch down for about four seconds, merely pressing it and letting would tell the computer to suspend. This had us confused for a short time but a quick search of dejanews told us what we were doing wrong, and the manuals for the motherboard did indeed mention this feature but we had missed it completely.
Once the master was completed and it passed our simple test, we installed Linux on it. It took us a while to get it to boot properly after we installed the OS from our RedHat CD, but after fiddling with the SCSI id's we got it going.
Once we got the master booted and had marveled at how fast it could compile a new kernel, we called it a day and packed up until Monday.

